
Bread is one of those things that people put off making at home for far too long because they believe it to be kitchen witchcraft which takes years to master, especially for anything beyond basic loaves. Not so. And while it might take a few casual hours rising before you’re eating bread with an artisan pedigree, the actual investment of hands-on working time is usually minimal even on complex styles. You can harness thousands of tiny yeast workers to do your evil dough bidding while you read a book or tend the garden.
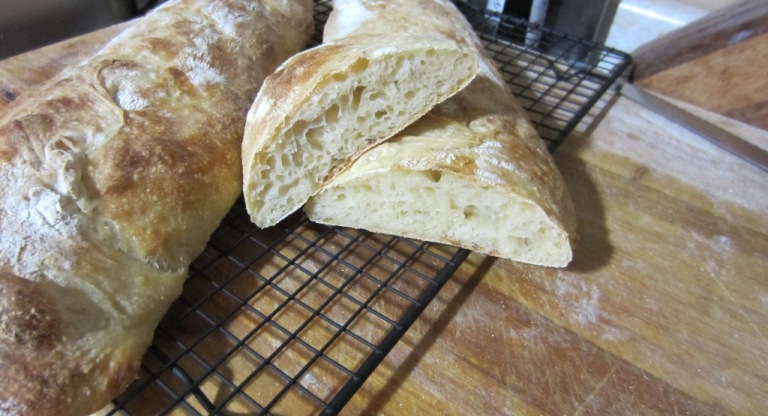
Ciabatta is a relatively new style of bread that emerged in Italy in the early 1980s and was meant to rival the classic French baguette in modern bread bragging wars. While ascribed to specific bakers in the Veneto, variations on the style appear all over Italy even earlier. The shape inspired the name which means “slipper” but the real fashion statement of this loaf is in the deliciously complex crumb with dense weaves and open pockets living side by side thanks to a very wet dough and aggressive rise. The characteristic shape comes from a slumpy second rise of that same wet dough atop a heavy dusting of cornmeal and flour. Those coatings on the baking surface put the brakes on the loaves spreading too widely across the pan during proofing. What the educated bread eating public shouldn’t stand for are flimsy mass-market imitations that mimic the shape with backroom pan trickery but offer none of the slow-risen character and interesting texture inside. Alongside pasta or as the base for glorious sandwich creations, ciabatta is worth making the genuine article.
While most recipes call for an overnight rise (which you can still do with this version), I upped the yeast and added the smallest measure of sugar to make it work in as little as six hours. You can start in the morning letting an upright mixer do the work while have your tea and toast and then forget about it until you get home where only a few minutes forming before you start dinner is all that’s needed for fresh, hot bread on the table just as you sit down to eat. Of course the second loaf makes tomorrow’s sandwiches a thing of beauty. Enjoy this one simply with great olives, cheese, and wine or just carry a loaf into the tomato garden with a pocket knife as I plan to do. The soft texture is ideal for dipping in your best olive oil that has had sea salt, black pepper, and balsamico traditionalle dripped in sparingly, warming or toasting optional. My loaves rarely last more than a couple of days but should yours somehow manage to get to day three, they will make the best Italian panzanella you can imagine.
Ciabatta at Home
500g strong flour (aka “high-gluten” or “bread” flour)
10g white granulated sugar
1 teaspoon sea salt
1 1/2 teaspoon active dry yeast
400ml water at 35C (95F)
2 tablespoons extra virgin olive oil
Rosemary option (which is delicious!):
Add 1 heaping tablespoons dry or 2 tablespoons fresh rosemary at the start. For dry, use cracked whole leaves rather than ground fine. For fresh, strip any tough stems and chop coarsely.
Extra flour, olive oil, & cornmeal is needed for working and proofing the dough. A flexible dollar-store plastic pastry scraper is insanely useful for getting this very wet dough out of the bowl and a rigid scraper on your bench is almost mandatory.
Yield: Two 16″ x 5″ loaves
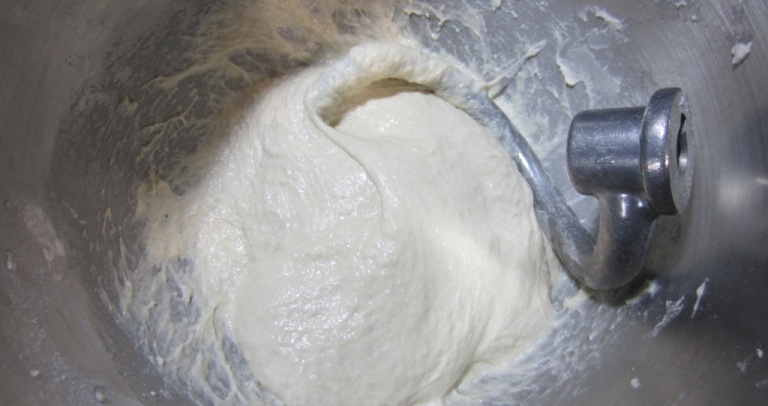
Combine all ingredients in an upright mixer equipped with a dough hook and start on low speed for one minute. Scrape down bowl sides and increase to medium-high speed for three minutes. Scrape the bottom and sides of bowl again and return to medium-high speed for five to eight minutes longer.
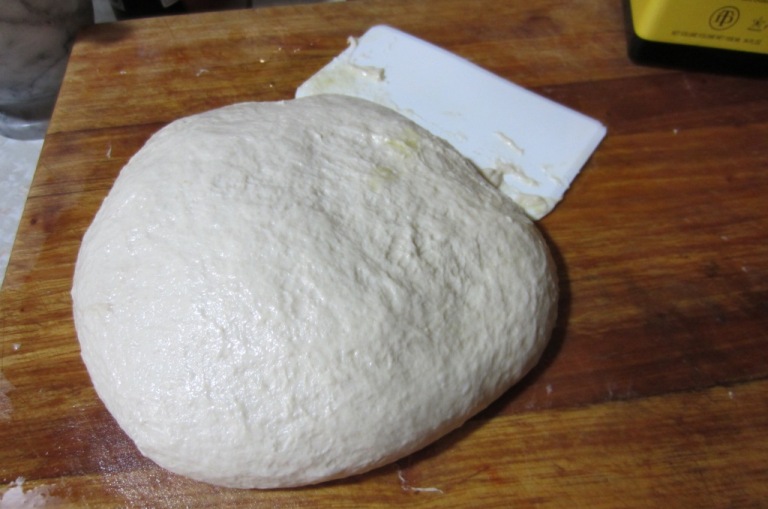
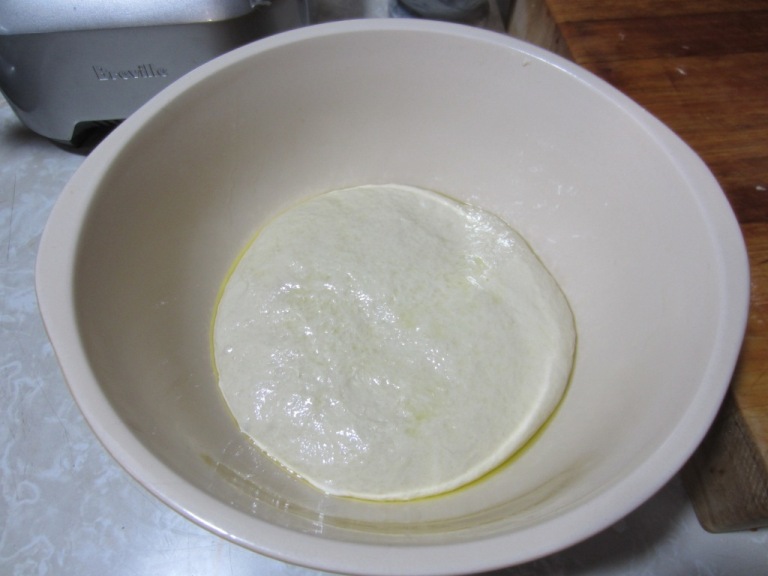
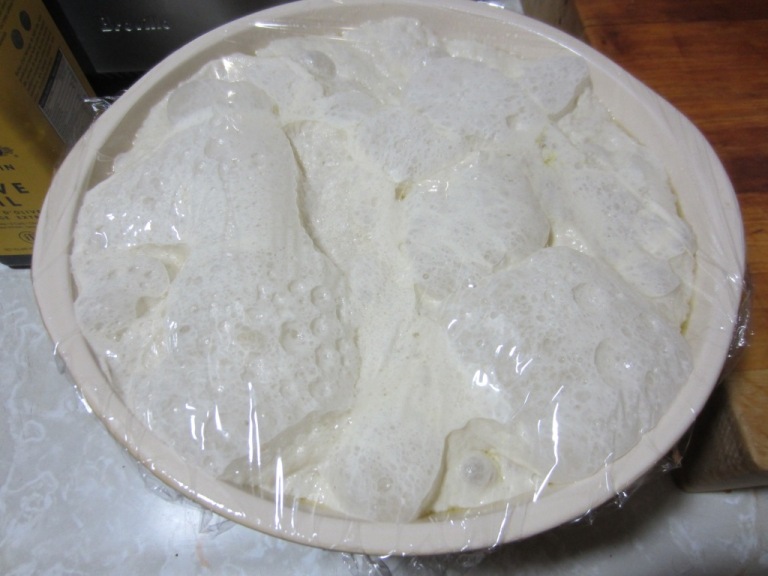
Turn out onto a well-oiled (not floured) board and knead briefly with oiled hands. This dough is particularly soft, wet, and sticky so expect a bit of mess at the start. It will come together as you work oil into the dough ball but bench scrapers should be kept at the ready and wielded like a baking samurai. After several minutes hand kneading as best you can, gather a smooth ball and place it in an oiled bowl. Cover with plastic wrap and set in an undisturbed warm spot for proofing (e.g. your closed oven turned off after a thirty second burst of heat). Let rise for three hours or throughout the day while you’re away hunting for excellent tomatoes and cheese to put atop these masterpieces. Alternatively, rise at cool room temperature overnight while you sleep and the yeast worker’s guild does its thing.
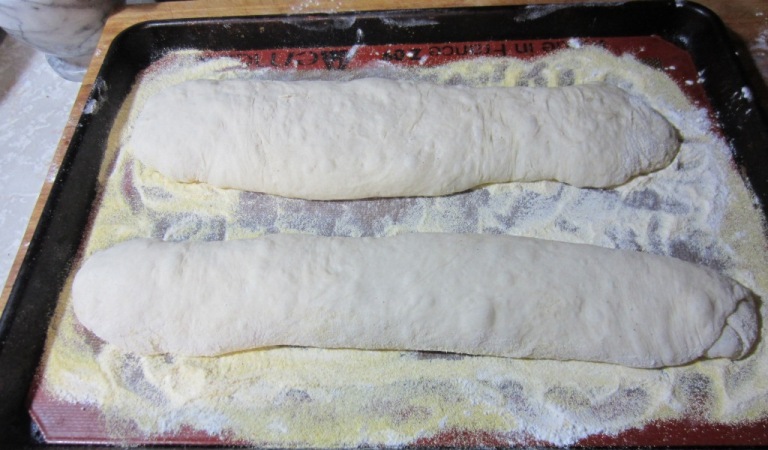
Scrape out the dough onto a lightly floured surface and split into two equal halves. It will seem a bit like juggling jellyfish but through judicious use of flour and deft skill with the bench scrapers it will become easier with practice. Avoid using excess flour as much as possible and expect the inner dough to remain fairly wet. Form two loaves with ‘baguette’ technique by rolling the dough onto itself three or four times into an elongated shape and pinching any final seam closed. Try to work the dough as gently as possible to preserve the air pockets and leave as tight a surface as you can manage to contain more bubbles that form in the proofing. Again, this will probably take a few practice loaves.
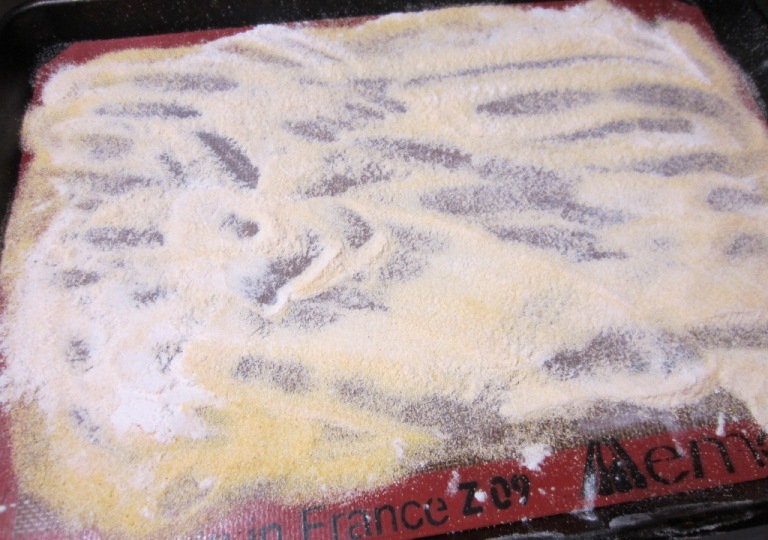
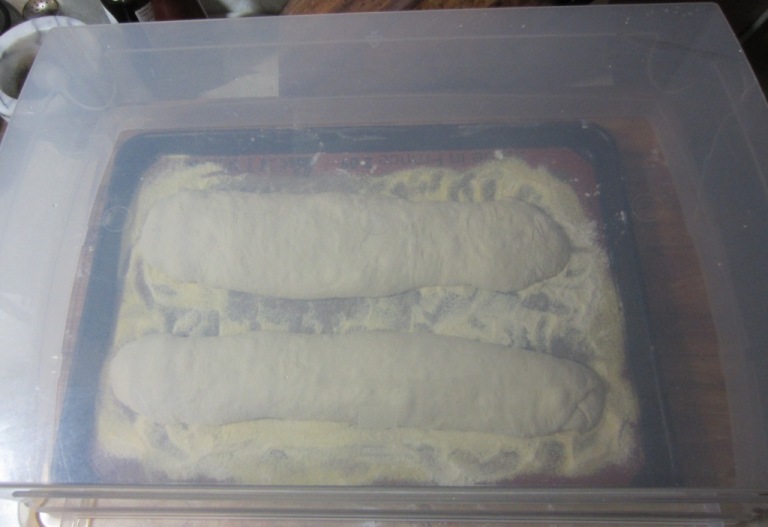
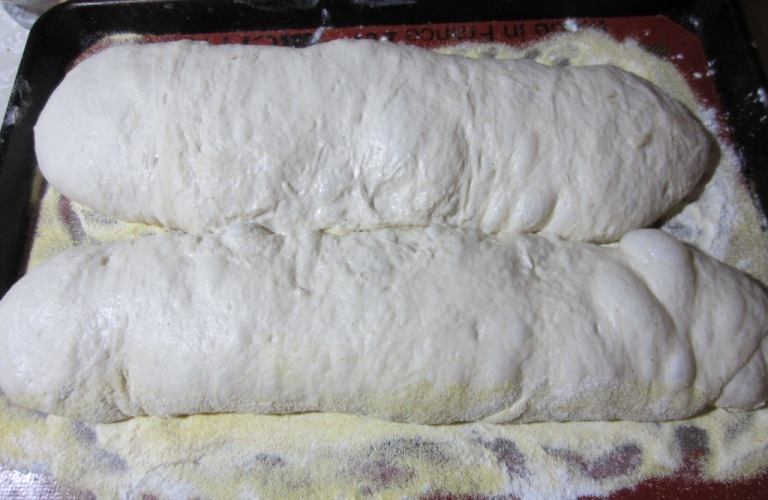
Bake one loaf per pan for the best rise and crust but in pairs with plenty of space between if oven space is at a premium. Place silicone mats on baking trays and dust heavily with a blend of equal parts coarse cornmeal and flour. Gently nestle the formed loaves atop the flour and cornmeal base and cover with a large inverted plastic container * for an additional rise of one to two hours.
* Much easier than fighting with plastic wrap that wrecks dough surfaces, a common plastic storage bin big enough to fit OVER your baking trays can be had for little money. Find a balance of size that allows just enough room for rising but otherwise minimizes air exposure. (see photo below)
FULLY preheat your oven to 220C (425F) using a baking stone if available. You can dust flour and / or cornmeal on top of the formed loaves for a rustic look if you wish. Scoring the top as you would with many traditional free-form breads seems less functional with such a wet dough and releases too much of the interior structure for my preferences so I skip it in this case. Bake the loaves on their rising trays without handling them any further. Spray the oven interior with water as you place the trays to make steam in the first moments of baking. Bake until a deep golden brown over the entire top and sides, anywhere from 18-26 minutes or until internal temperature registers 96C (205F). A thump on the bottom should yield a ‘hollow’ sound.
You MUST cool these loaves on racks to allow air circulation underneath. As tempting as tearing into the hot loaves armed with an arsenal of butter and olive oil is, they need the cooling time to finish baking internally and to allow the delicate inner crumb to set, at least thirty minutes if not longer. Store any you manage not to eat in the first six hours in airtight bags only after completely cooled to avoid steaming.
v5.0