I make a skillet of ordinary cornbread nearly every week because it’s dead simple and sits well alongside so many things in even its most plain form. Outside the holiday feasting season where cornbread dressing reigns supreme at my house, peppery soups and stews, my favourite bean pot, or simply a giant salad all partner a hefty wedge warm from baking in place of crackers or more pedestrian bread. But therein lies the pitfall of cornbread. It doesn’t keep particularly well. Two days at most and even that is pushing the envelope of freshness. You can however crumble leftovers, stir in a good measure of milk, mix with a bit of honey or molasses, and bake it all again into a delicious pudding. The corn soaks up any flavours you toss in which is why it works so well for holiday dressing with herbs and roast turkey drippings. Sweet or savoury, corn can go either way.
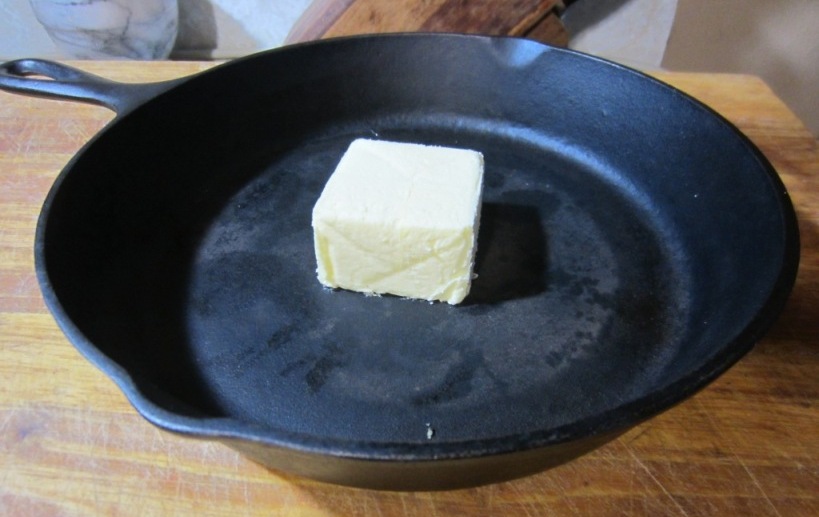
Before I try to convince you further we have to talk about the pan. You must have a cast iron skillet for this to achieve a decently crisp crust. Not enamelled, not coated with some whacky non-stick treatment. Straight old-school uncoated cast iron like you’d find around the campfire. It’s about the cheapest sort of pan you can buy and brand won’t matter because it’s hard to screw up uncoated cast iron pan making. They also seem to be bullet proof and will last almost literally forever assuming you don’t drop it on concrete; cast iron can be brittle and shatter with such abuse. Plan to give this pan to someone in your will.
Having said that you need to put some thought into the size. Twelve inch diameters make a lot of cornbread, cheap to make as it may be, and are probably bigger than you need unless you’re feeding an army. For my one man consumption levels a ten-inch pan seems a better fit and some of you out there might even get away with an eight-inch model. Also remember that higher sides makes for more delightfully crispy crust. You’ll also come across ‘pre-seasoned’ marketing when shopping and frankly that doesn’t matter. Even pre-seasoned pans get better with use and I’m leery of those claims in the first place. You can season uncoated cast iron yourself easily by simply cycling the pan through hot and cold with some fat (oil or butter) applied. In fact you season it every time you use it. With all the butter in cornbread, it’s not going to stick much if at all even from day one.
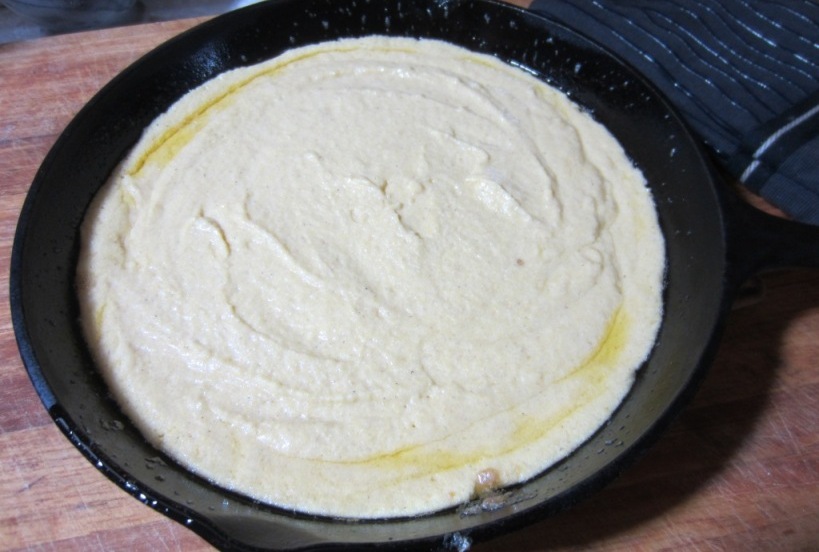
Whatever size pan you acquire, you only want to fill it about halfway full with cornbread batter to allow for a modest rise. This might mean you have to do some math with my recipe depending on your specific skillet size or worst case, fry up any extra you have as ‘corn pone’ – little corn pancakes fried on a flat griddle. The fill level is important because unlike yeast breads, the rise is done quickly on the fly and you want to maintain good pan contact on the edges for the all important crust. Think about how a muffin rises and you’ll be on the right track. Too little batter and you’ll end up with an overdone cornbread puck. Too much and you’ll have raw batter in the middle of a corn souffle. This is something you’ll need to practice with your unique pan and oven times until you nail it down but preheating that skillet well is required in all cases.
Remember, cornbread doesn’t store well so it’s better to whip up a new batch in a few minutes than eat the stuff you made a week ago. In my own pan lineup I rarely use this particular cast iron pan for anything but cornbread. Choose your size wisely if you want to get double duty from it elsewhere. Say as a weapon for nighttime intruders since it weighs a tonne but that heft is what holds heat and makes the crust ideal.
Corn is technically just an overgrown grass according to botanists but let me tell you it tastes loads better than your lawn. For cornmeal, polenta, and the like you don’t use the ‘sweet’ corn found on cobs at the green grocer. Rather you head out to the field for… field corn, aka “flint” or “dent” corn. You might have seen this sort as part of holiday decor because it comes in all manner of colours from blue to red to black. Yellow or white will do nicely for us here.
Finding cornmeal here in the corn-clueless parts of Canada was a bit challenging at first. To be fair I had the same issues out west but there I could fall back on the Mexican mercados for supply. In my youth I was used to getting huge five-kilo sacks of the stuff right next to the baking flours in any ordinary supermarket I walked into for pennies. The farther north I went, the smaller and more expensive the bags got until I explained my impassioned need for corn products to my local market managers about the same time I was pleading for them to bring in masa harina* for my tamale and tortilla efforts.
* Masa flour, also known as masa harina, is yet another totally different corn product. There the corn has been nixtamalized whereby the kernels are soaked in lye or similar agents to remove the tough skins from the field corn. This changes the taste significantly but a cornbread experiment where I used a mix of regular cornmeal and masa tasted great.
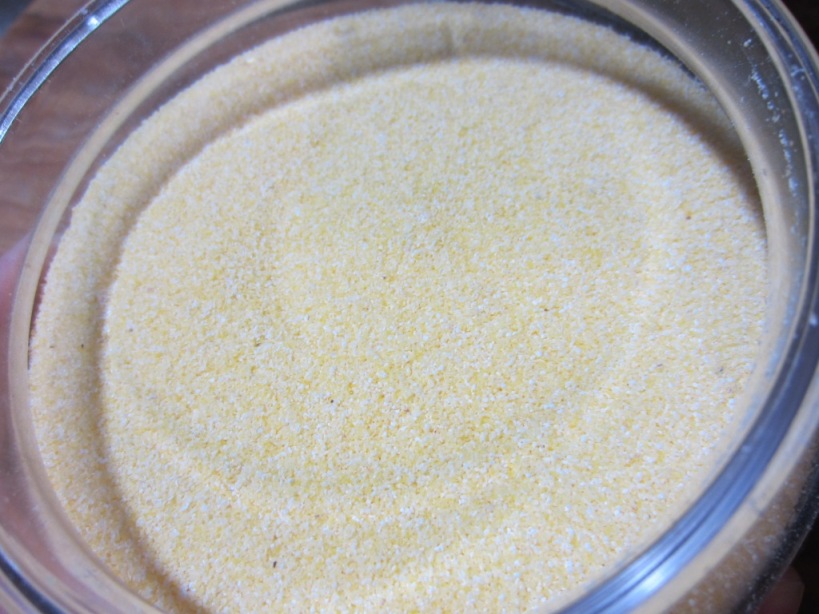
To be clear, cornmeal for cornbread is not the same as polenta grind. The latter is typically much bigger. Nor is it corn flour, aka corn starch. Corn meal comes in yellow and white versions most commonly and will be the texture of very fine sand in your hand (see the photo below). Some people will even use several different grinds for texture but the best I’ve found locally is actually slightly larger and comes from the local historic grist mill powered by a waterwheel built circa 1874. Unfortunately they’re not open year round but luckily cornmeal keeps for months if not years. Experiment around with the various grinds you can find locally.
Several “experts” on southern cooking get their knickers in a twist the moment anyone mentions sugar around cornbread. They say that a ‘true southerner’ would never add any to their cornbread and that’s only for ‘Yankees’ up north. Rubbish I say. I don’t put in heaps of sugar like you find in sweet cornbread cakes and muffins but there’s nothing wrong with a tablespoon or two to add a hint of sweet in there I say. Add or omit to your preference.
It may look like way too much butter at the start but butter = fat and fat = flavour. The cornmeal can carry it in this case. After testing several, I prefer good old-fashioned unsalted butter to other fats like corn oil or bacon drippings because they all made for a more drab texture even if they did add interesting flavours. If you happen to have buttermilk or even the very handy buttermilk powder on hand, this is a great place to use it. Use 40g (~ 1/3 cup) of powder to one and a quarter cups warm-ish water, whisk well to get out all the lumps, and pop in the fridge for an hour before adding it to the recipe. Or go learn how to churn butter from cream which is surprisingly easy and gives you two ingredients for the price of one.
Skillet Cornbread
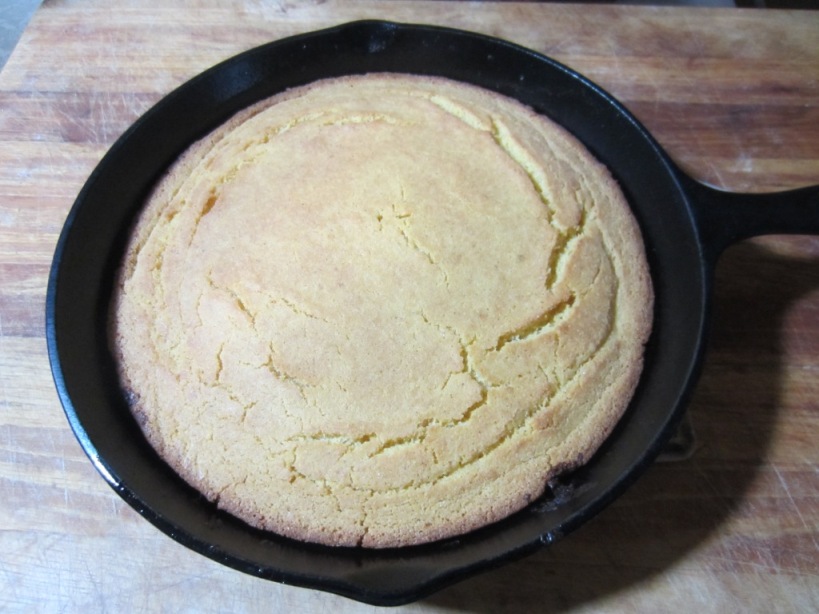
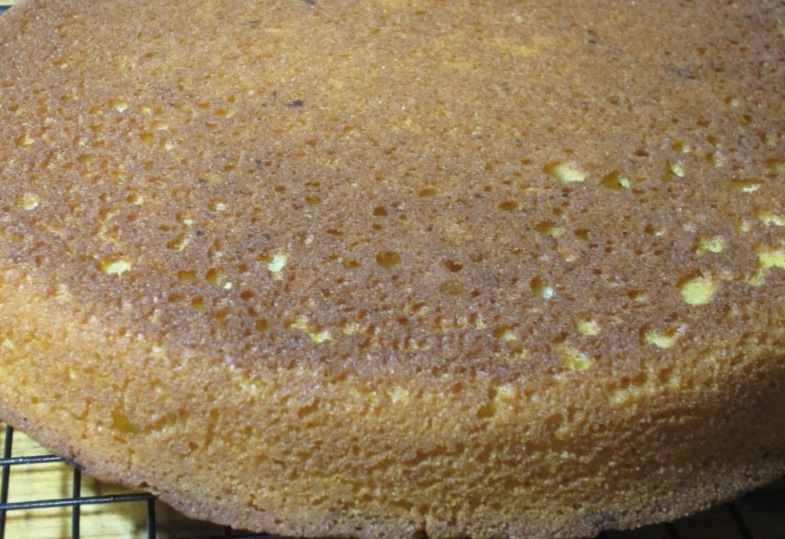
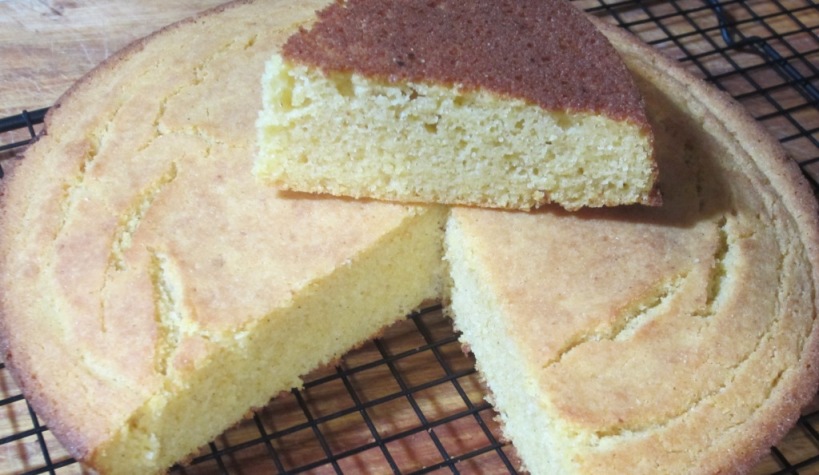
Be sure to whisk the eggs well to incorporate air for lift. The gyrations with the butter and the warming pan ensure you get a crispy, buttery crust that’s slightly fried at the start. The bottom will be considerably darker than the top. Deliciously darker.
125 grams (1 cup) all-purpose flour *
1 teaspoon fine sea salt
1 tablespoon baking powder
1 tablespoon sugar (optional)
250 grams (1 1/2 cups) cornmeal, yellow or white**
125 grams (8 tablespoons) unsalted butter
2 large eggs from happy chickens
300 ml (1 1/4 cup) whole fat milk (or buttermilk if available)
* I’m told that you can grind an equivalent measure of cornmeal finely in an electric coffee mill or similar or add a ratio of cornstarch (fine corn flour) instead if you’re on the no-gluten kick. I think gluten is delicious so I’ve not yet tested these theories myself.
** Various grinds of cornmeal around the planet go by sometimes strange names (e.g. “Fine Polenta” in the UK). The good news it that most all will work to make something delicious but may absorb moisture in the recipe differently and give different finish textures. You may need to adjust the milk amount or just add extra water depending on your local supply. Experiments with masa arepas (a pre-cooked cornmeal from Central America) and masa harina (typically reserved for corn tortillas and tamales) are ongoing but promising thus far.
Place a ten-inch uncoated cast iron skillet into the oven and preheat to 400F for at least twenty minutes while mixing the rest of the recipe.
Sift together flour, salt, baking powder, and sugar. Add cornmeal and mix completely. Set aside.
Place the butter in the warming pan to melt, brown slightly, and become aromatic, about seven minutes. Be careful not to burn the butter at this stage because that would require a total reset.
As the butter melts whisk the eggs in a large bowl by hand or in an upright mixer until light in colour, about three minutes. Add the milk and whisk to combine before pouring into the cornmeal mixture and folding together with a spatula. When melted, swirl the butter to coat the inside of the pan completely and then pour the excess into the batter and fold just until combined. Pour the mixture into the warmed pan halfway up the sides of the pan and return to the oven, lowering the temperature to 375F. Bake until the top is golden brown and a knife inserted comes out clean, anywhere from thirty minutes to an hour depending on your pan size, cornmeal grind, desired crust, and will of the cornbread gods.
Remove from the skillet immediately to cool on a wire rack for as long as you can resist the smell. Extra butter spread with a drizzle of honey will send you into cornbread nirvana. Don’t you dare let cheap margarine anywhere near this masterpiece.
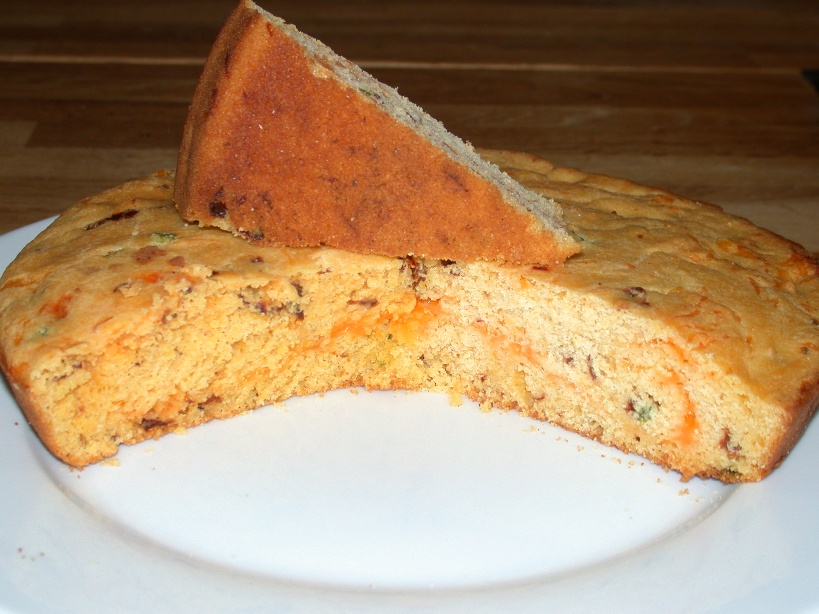
* Optional: For a Tex-Mex treat, add 50 grams of finely diced red or green chiles to the batter along with 100 grams of fresh or frozen corn kernels. Pour half of the batter into the skillet and add a layer of shredded cheese before adding the rest. Bake as above and then go make a pot of chili to match.