

My go-to oatmeal cookie recipe started life in an original edition (circa 1950) of the Betty Crocker ‘big red’ cookbook that’s been falling apart at the spine on my shelf for years. It’s a politically incorrect delight to read resplendent in its butter and fat and sugar and all those foodstuffs that have probably been tempered in the edit over the decades. It’s hard to argue with a classic but I have modified this cookie recipe gently over the years. The original used raisins but dried cherries or cranberries, a handy local crop here in Canada, have become my preference because they add a tart character that keeps the end results from being sickly sweet. Most any dried fruit you have on hand will work and the soaking step will level out the moisture enough to work in this recipe. Ditto if you’ve only got a lemon instead of an orange handy for the zest. Feel like adding toasted nuts? That will work too if you simply can’t live without walnuts or almonds but I’d chop them well and keep it under half a cup. Oats make great equalizers that way when it comes to baking.
These cookies *aren’t overly sweet* as is often the habit in the genre and I like them that way. In fact some might even call them teacakes rather than proper cookies. In my house they almost always appear naked next to a good cup of Assam and I don’t use any extra sweetening there either. With the hidden sugar epidemic that’s sweeping the globe I think a simple cup of tea and decent biscuit should be a slightly safer port in that sweet storm. I’m drinking a cup as I type this with some test cookies in hand. Purely for the sake of science and your benefit of course.
If you simply can’t control your inner sweet-toothed monster, rather than re-engineering the entire recipe just take a few seconds to stir together a batch of the optional icing and crank up the calorie count to your heart’s content. That can also be a fun place to insert new flavour combos if your pantry has interesting extracts like mine. I can tell you maple is a winner from experience.
If you have nutritional or philosophical objections to booze in your cookies, or if you just drained your last bottle into the weekend batch of pina coladas, don’t fret about leaving it out. It adds perfume as much as taste but the baking will survive a stint on the wagon.
Pay attention to how you handle the various mixing stages to avoid the overly dense texture that’s usually the bane of oatmeal cookies. I also use both baking soda and powder to get a crisp outside and chewy inside texture thanks to a bit of baking science as long as you don’t over bake them. Did you hear me? Don’t bake these cookies until they look ‘done’ because at that point you’ve gone well past the extra crispy mark. Trust me and pull them out early.
Oatmeal & Cherry Cookies
110 g (1 cup) dried cherries, roughly chopped (substitute raisins, cranberries, dates, etc. as desired)
2 tablespoons rum, any variety (optional)
200 g (7 oz) unsalted butter, softened to 20C (68F)
200 g (1 cup gently-packed) light (aka golden) brown sugar
2 large eggs from my awesome neighbour’s chickens
2 teaspoons vanilla extract
zest of one orange (preferred) or one lemon
135 g (1 cup) all-purpose flour
1 teaspoon baking soda
1 teaspoon baking powder
1/2 teaspoon salt
1/2 teaspoon powdered cinnamon (optional)
180g (2 cups) rolled oats*
Yield: 16 cookies
*I avoid ‘quick cooking’ or ‘minute’ oats but have used them in a cookie emergency. I find the ‘old-fashioned’ versions have a better chew and flavour in baked goods compared to quick versions that have been pre-cooked at a factory. If you live in North America, Bob’s Red Mill brand has become widely available and their “thick rolled oats” have always given me great results. Don’t sweat it if you already have a bag of quick oats in your cupboard. They’ll work just fine but next time give the traditional sort a go.
Add the cherries and optional rum to a heat proof glass and barely cover with water. Microwave on high for thirty seconds. Allow to soak while you prepare the rest of the recipe.
Cream together butter and sugar in an upright mixer with paddle attachment on medium-high speed. Scrape the bowl sides often. If the butter is at optimal temperature, the mix should be light and fluffy after about three minutes. Add eggs, vanilla, and zest and continue to whip until the eggs are fully incorporated, about four minutes longer. There will be a noticeable change in texture and the colour will lighten if you’ve whipped the right amount of air into the butter and eggs.
*Sift* together flour, baking soda, baking powder, salt, and cinnamon. Add to the butter mixture and mix on medium-low speed until completely incorporated, scraping bowl sides as necessary, less than a minute. Avoid over whipping once the flour is added to keep the cookies light in texture. Remove the bowl from the mixer. Drain the soaked fruit well and add it along with the oats. Fold by hand just until incorporated, about thirty seconds.
Don’t skip this next step!
Turn out the dough onto parchment paper and form loosely into a uniform log. Roll the paper ends to seal and refrigerate for at least thirty minutes and up to an hour. Cool dough is necessary to get the right shape and texture without too much ‘spread’ on the baking sheet. This is not a ‘flat’ cookie and is meant to have some cake-like overtones to the texture. After whipping air into the butter properly it will need the chill, especially on hot days. Similarly, if the dough is too cold you’ll end up with no spread at all and a very thick mini-cake. That bears repeating: cookie too thick, dough was too cold. Cookie too thin, dough was too warm. Practice with a test cookie or two to achieve the texture you want.
Once chilled, portion the dough for sixteen cookies and roll each into a ball with wet fingers. Portioning the entire batch at once is handy for consistency in cookie size and hence baking times. Once formed, the cookies can also be frozen for on-demand baking up to a month later if kept in an airtight poly bag. When baking from frozen, allow them to warm to room temperature beforehand, sometimes as much as an hour depending on your personal interpretation of ‘room temperature’. The ability to flatten them without excessive force is a decent indicator they have warmed sufficiently and are ready for the oven.
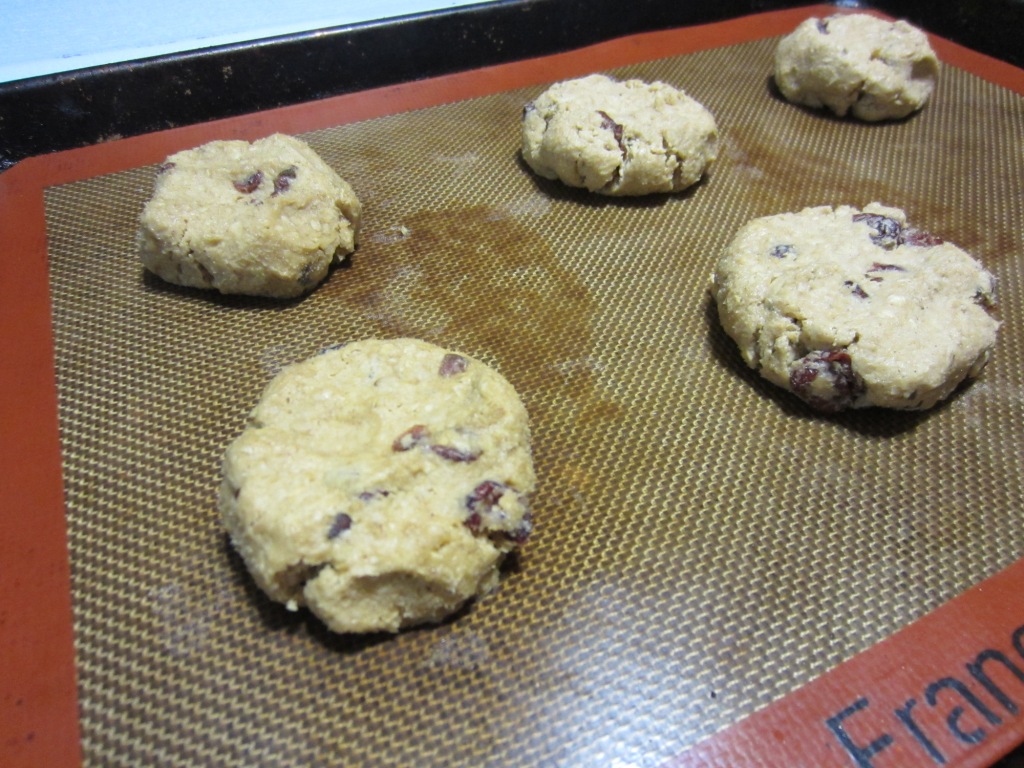
When ready to bake, *fully* preheat the oven to 190C (375F) and line a cookie sheet with either parchment or a silicon baking mat. Place dough balls on the sheet spaced 3-4 inches apart. Flatten each ball slightly with fingertips or the back of a large spoon. Bake six minutes and then rotate sheet back to front. Bake an additional four to seven minutes removing the cookies when the edges just barely set and there is only minimal colour on the bottoms. If the cookies look completely done when you remove them they have baked too long and they will be unpleasantly crisp once cooled so err to the side of caution.
!! Don’t Over Bake These Cookies !!
Allow to cool completely on a rack, roughly an hour. Drizzle with icing below if desired.
v.5.1


Totally indulgent (optional) icing ‘drizzle’
If you’re really trying to gild the lily, you can make a quick icing to drizzle over the top of the finished cookies once they are cool.
125 g (1 cup) icing sugar
1/4 teaspoon vanilla
juice of one orange*
*you can also use lemon but may need to supplement with small amount of water depending on how much juice you can get and how strong you want your icing. Don’t use bottled juice of any sort here. Alternatively, a quarter teaspoon of any flavoured extract desired (almond? maple? Bueller? Bueller?) can be used with water to achieve the final consistency.
Combine sugar & vanilla. Continue by adding one teaspoon of juice. Stir vigorously with a small spoon or fork to remove any lumps. Add more juice in half teaspoon increments as necessary to get a consistency that is barely thin enough to ribbon off the end of a spoon, up to four half-teaspoons more but go slowly with additions. Use a spoon to ‘zig-zag’ a pattern on each cookie while holding it over the bowl of icing.
Allow icing to set firmly which can be up to an hour depending on humidity and heat in your kitchen.
v.2.2